
Preface
One of the most desired feature for Unity is to open multiple projects simultaneously.
My personal needs is a bit complex – I also need to have several Unity versions installed. I use them for testing of my Unity asset store plugins: Bitmap font tools and UI tools
And finally at window switch it would be great to see what Unity version projects are opened.
Requirements
To have installed:
- latest Unity 4
- latest Unity 5
- copy on latest Unity 5 to open two projects simultaneously
In total be able to open three projects simultaneously (for each unity instance).
Solution
The general solution for MacOs is simple – install different Unity versions to separate folders.
Workflow:
- install latest Unity 4 to default location – /Applications/Unity
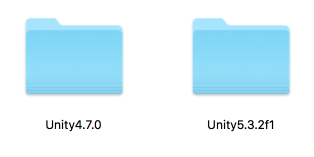
- rename folder to /Applications/Unity4
- install latest Unity 5 to default location – /Applications/Unity
- rename folder to /Applications/Unity5
As a result at Applications folder you will have something like that (I prefer to keep full unity version)
Installing second version on Unity 5
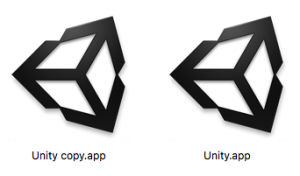
It’s redundant to make a full copy of unity 5 folder for second instance (8,7G of extra disk space 🙂 )
All you need is just copy Unity.app inside folder /Applications/Unity5.3.2f1/ (CMD+c , CMD+v)
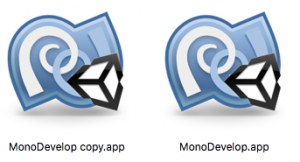
And the same for MonoDevelop.app
As a result you’ll save about 7,5Gb disk space comparing to full copy of Unity folder! 😉
Tuning “Unity copy” to use “MonoDevelop copy”.
To do that:
- launch “Unity copy”
- open preferences
- -> External Tools
- -> External Script Editor
- -> Browse
- and select just created “MonoDevelop copy”
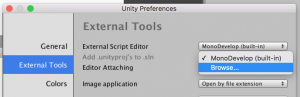
From now “Unity” will use default “MonoDevelop”, and “Unity copy” new “MonoDevelop copy”.
Changing default icons
The most exiting part is to make Unity instances look different.
After the short research I found a way how to replace file icon to any custom one.
Here is the instructions:
Step 1: at finder copy new icon file – CMD+c (should be 1024×1024)
![]()
Step 2: open app file info panel – CMD+i
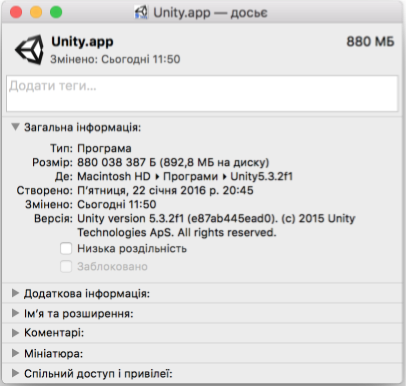
Step 3: select current icon
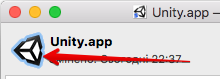
Step 4: paste new icon from clipboard – CMD+v
![]()
That’s it!
I created custom icons for Unity and MonoDevelop and changed them for all three instances (you can find them bellow in this post).
unity5 folder content:
![]()
and unity4 folder content:
![]()
Now it look fabulous 🙂
Adding links to dock
I guess you know how to add new link to the dock (just simply drag and drop app to the dock)
Here is how my dock look like

Testing CMD+TAB – window switch
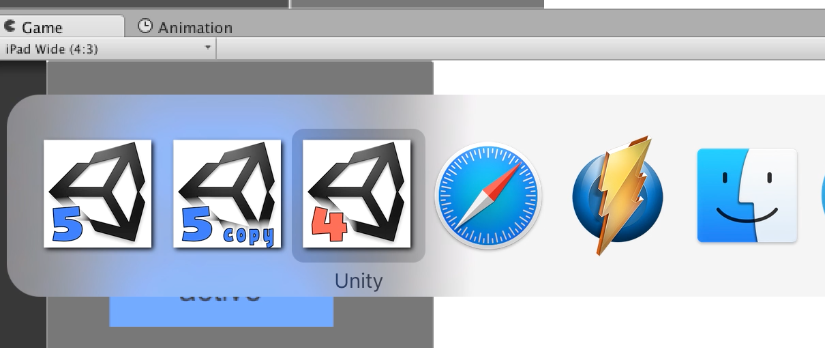
Awesome!!! 🙂
Ready for use icons
Here is a ready for use icons (click on it to open full size image):


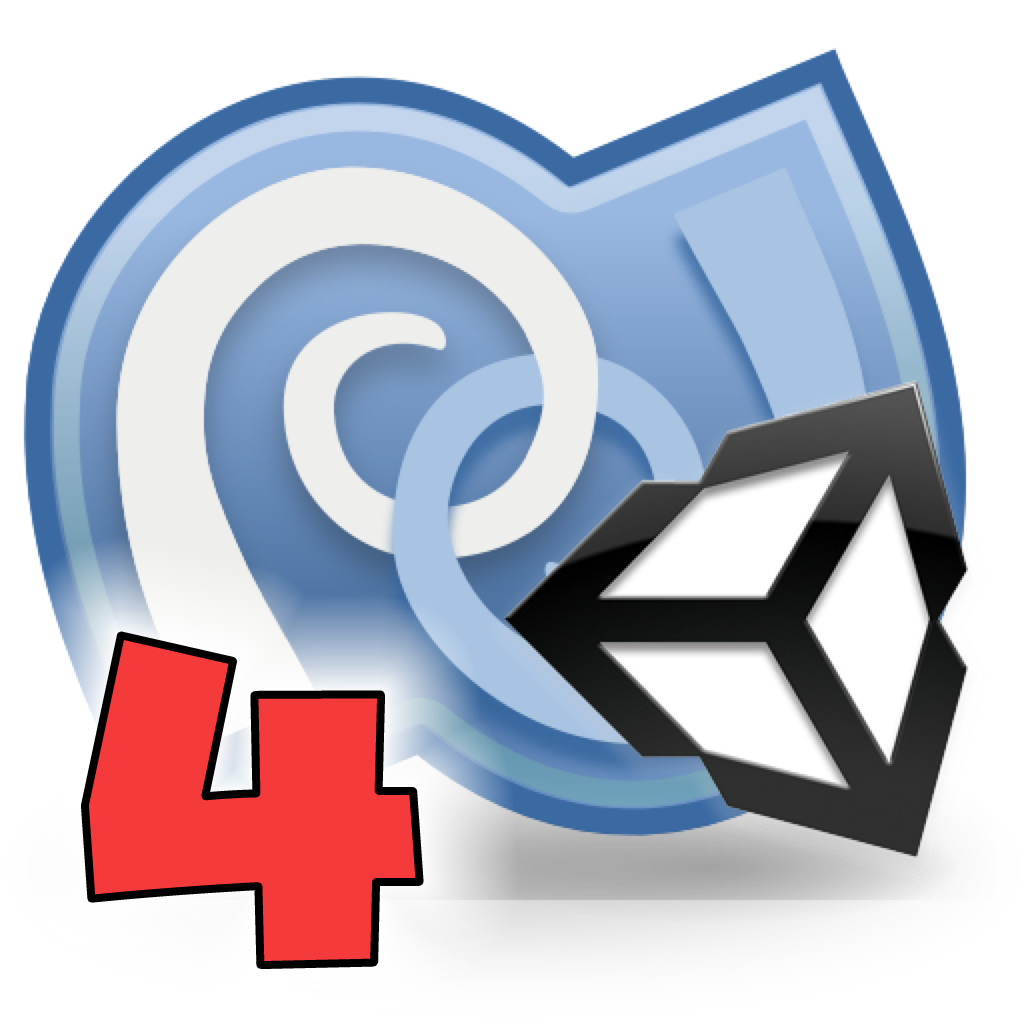


And a source psd file with layers – https://dl.dropboxusercontent.com/u/8832997/cjf.inc/unity.psd
Enjoy!